How to Draw Ear Drawing
Ear
The human body is a confounded development produced using various more hidden features. Regardless, when you zone in on one of these more humble components, there is a lot of unpredictability to see! This suggests that drawing a piece of these parts will be genuinely difficult regardless of how you see them reliably. Sorting out some way to draw an ear represents a little piece of the body that is exceptionally baffling.
Visit the dog coloring page
While taking on a serious drawing challenge, you can make it significantly easier on yourself when you separate it into additional unobtrusive advances; that is how we intend to help you here. So get ready to draw this confusing organ as we start this step by step guide on the most capable technique to draw in an ear, just 6 basic errands!
Stage 1 – ear Drawing
To begin this associate on the most capable strategy to draw an activity ear, we will start with the system of the real ear. This will be drawn with a lone twisting line, but despite the way it is one line, it can be, to some degree, a test to pull off. How the line twists are very sure, as it will add to various pieces of the ear that we will add soon. Put forth a genuine attempt to follow the reference picture eagerly and reference later pictures in the helper with the objective that you can see how the twists of this line will turn out to be the main element later.
Stage 2 – As of now, finish the plan for the ear
This step will see you finish the outline of your ear drawing. Luckily, this one should be much more direct than the last step. In this one, there will be no twists to add to the design, and we will rather consume the space left over in the outline from the underlying step. This will require a direct twisted line, and subsequently, the format will be done. That’s all there is to it now; subsequently, we can keep arranging 3 of these assistants.
Stage 3 – Next, start drawing a couple of internal nuances
You have completed the structure, and by and by, we will start adding a part of the interior nuances of the ear. Ears are astoundingly marvelous organs, and this infers that drawing the inward nuances can be surprisingly troublesome! We will take this step continuously and carefully follow the reference picture to make it clearer as we add these first nuances. In any case, we will characterize a tremendous twisted limit near the upper edge of the ear. As you can find in our model, this line will go across basically the amount of the top part of the ear.
Then, we will add an alternate line that is substantially more staggering. This one will connect from the essential twisted line and hover over aside and a while later change into a wavy line that is by all accounts a contrary 3. This part can be fairly tangled, so take as much time as fundamental with it and follow the reference picture closely to help you!
Stage 4 – As of now, draw a more noteworthy measure of the ear nuances
The previous step of this ear drawing was, to some degree, a super one, so we will make things very direct in this step! You will add one entire line in this step. We will characterize an essential twisted limit plummeting from the upper line you pulled in the last step. This new line will connect down to around the midpoint of the ear. That is on the side of now, and a short time later, we can add a couple of last nuances in the next phase of the helper!
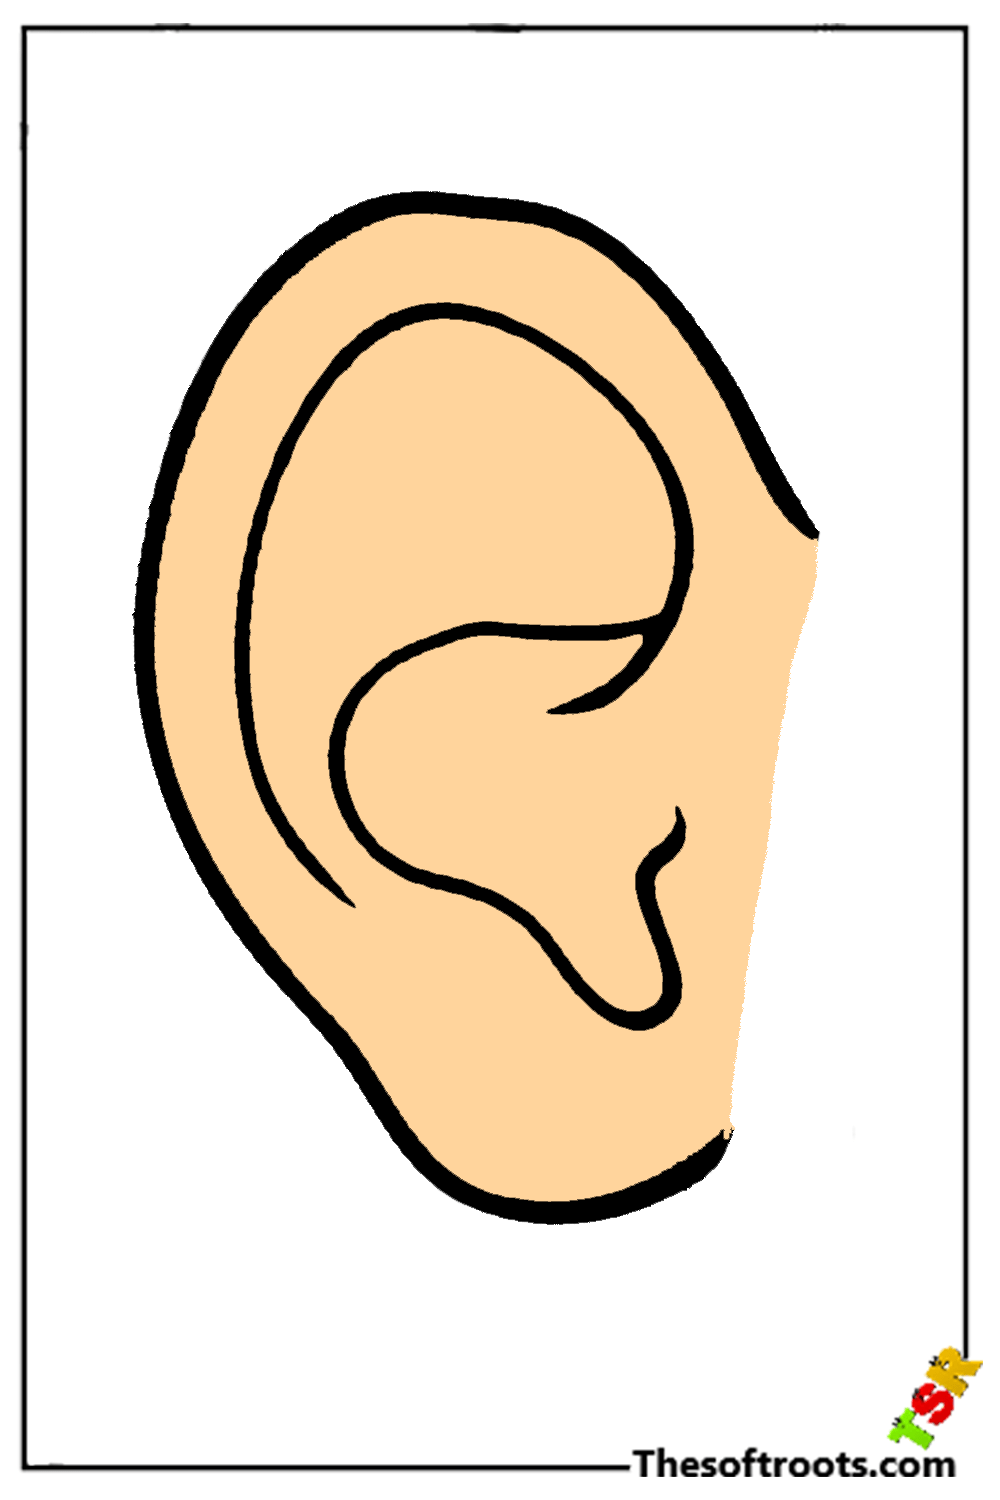
Stage 5 – Add the last nuances to your drawing.
We have another basic errand in this piece of our associate on the most capable technique to draw an activity ear! This time, we will add another jagged line, yet it will come to the lower edge of the ear. Whenever that is drawn, you have finished this arrangement of an ear! Before you progress forward, add some extra nuances you would like. There is a couple of horseplay and creative plans that you could go for! One idea is to draw a couple of loops onto the ear, and if you have a significant piece of paper, you could draw the rest of the face.
You could go for these two or three of the various contemplations as you finish this drawing. What considerations do you have?
Stage 6 – Now end your drawing
As of now, it is the perfect opportunity to finish this ear with some tone. There are different appearances and assortments you could go for while concealing this ear, and we showed you one approach in our model. Notwithstanding which assortment plot you pick, you can find in our model how we changed the shades of the tones to show hiding. We propose using watercolor paints for this drawing, ideally suited for recreating coloring! This is just a single medium you could use; each will look wonderful in its own specific way.
Also Read w post news
