Polymer Clay Beads: Personalizing Your Creations
Polymer clay beads are a creative and versatile way to personalize your jewelry creations. With their vibrant colors and unique textures, polymer clay beads can add a touch of individuality to any design. Whether you are a beginner or an experienced jewelry artist, understanding the basics of polymer clay is crucial to creating beautiful and long-lasting beads. In this article, we will explore the different types of polymer clay, essential tools for working with polymer clay, step-by-step instructions for creating your first bead, advanced techniques for unique designs, tips for personalizing your beads, proper curing techniques for durability, and finishing touches for a professional look. We will also discuss how to maintain your polymer clay and overcome common challenges in bead making.
Understanding the Basics of Polymer Clay
Types of Polymer Clay for Bead Making
When it comes to polymer clay, there are several types available in the market. Each type has its own characteristics and properties that make it suitable for different applications. The most common types of polymer clay for bead making include:

- Original Polymer Clay
- Translucent Polymer Clay
- Metallic Polymer Clay
- Glitter Polymer Clay
- Effect Polymer Clay (e.g., granite, pearl, and mica clays)
Experimenting with different types of polymer clay can add depth and dimensionality to your bead designs. Don’t be afraid to mix and match different colors and textures to create truly unique beads.
Essential Tools for Working with Polymer Clay
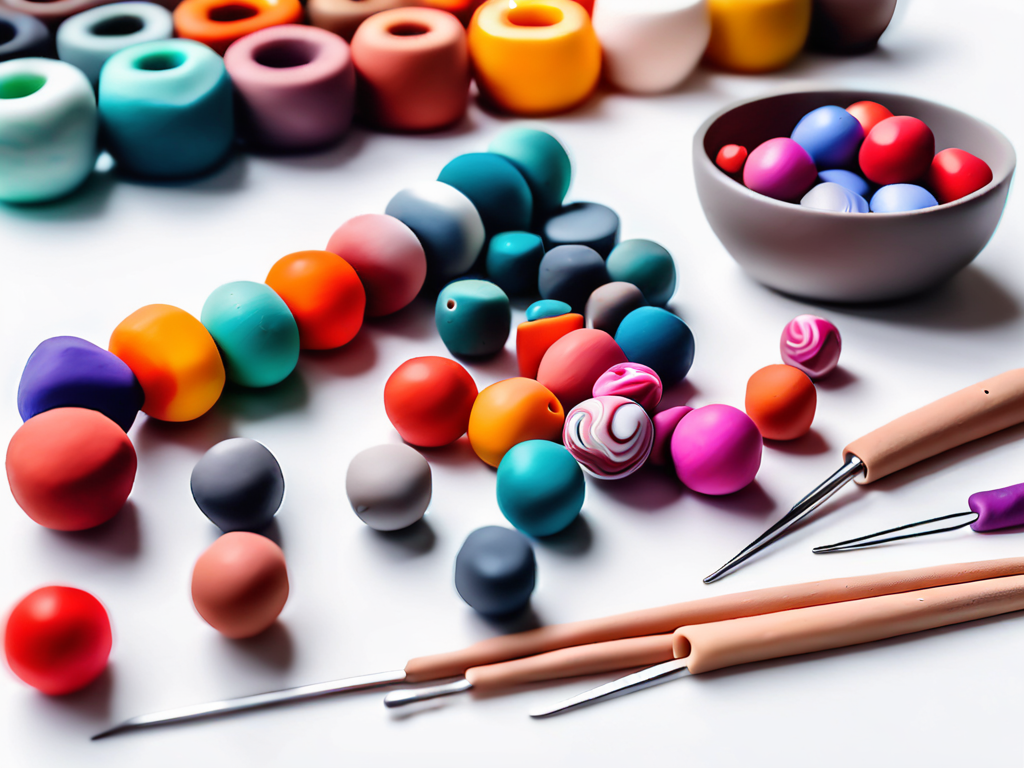
Before you start creating polymer clay beads, it’s important to have the right tools at hand. While the tools you need may vary depending on your design, here are some essential tools that every bead maker should have:
- Pasta Machine or Acrylic Roller
- Clay Blades
- Shape Cutters
- Needle Tool
- Sanding Pads or Files
- Baking Surface (e.g., ceramic tiles or parchment paper)
- Oven Thermometer
These tools will help you shape, cut, and texture the polymer clay, ensuring that your beads are formed with precision and finesse.
The Art of Making Polymer Clay Beads
Step-by-Step Guide to Creating Your First Bead
Creating your first polymer clay bead can be an exciting and rewarding experience.
Here are the steps to guide you through the process:
- Condition the Clay: Knead the clay until it becomes soft, pliable, and free from air bubbles.
- Choose a Design: Decide on the shape and size of your bead. You can use shape cutters or mold the clay by hand.
- Add Textures and Designs: Use tools like texture sheets, stamps, or carving tools to add patterns and textures to the bead surface.
- Poke a Hole: Using a needle tool or toothpick, create a hole through the center of the bead for stringing.
- Bake the Bead: Place the bead on a baking surface and follow the manufacturer’s instructions for curing the clay.
- Sand and Buff: After the bead has cooled, use sanding pads or files to smooth out any rough edges. Buff the bead with a soft cloth for a polished finish.
Remember to let your creativity flow as you experiment with different shapes, textures, and colors. Each bead you create will be unique and add a personal touch to your jewelry pieces.
Advanced Techniques for Unique Bead Designs
If you are looking to add more complexity to your bead designs, here are some advanced techniques to explore:
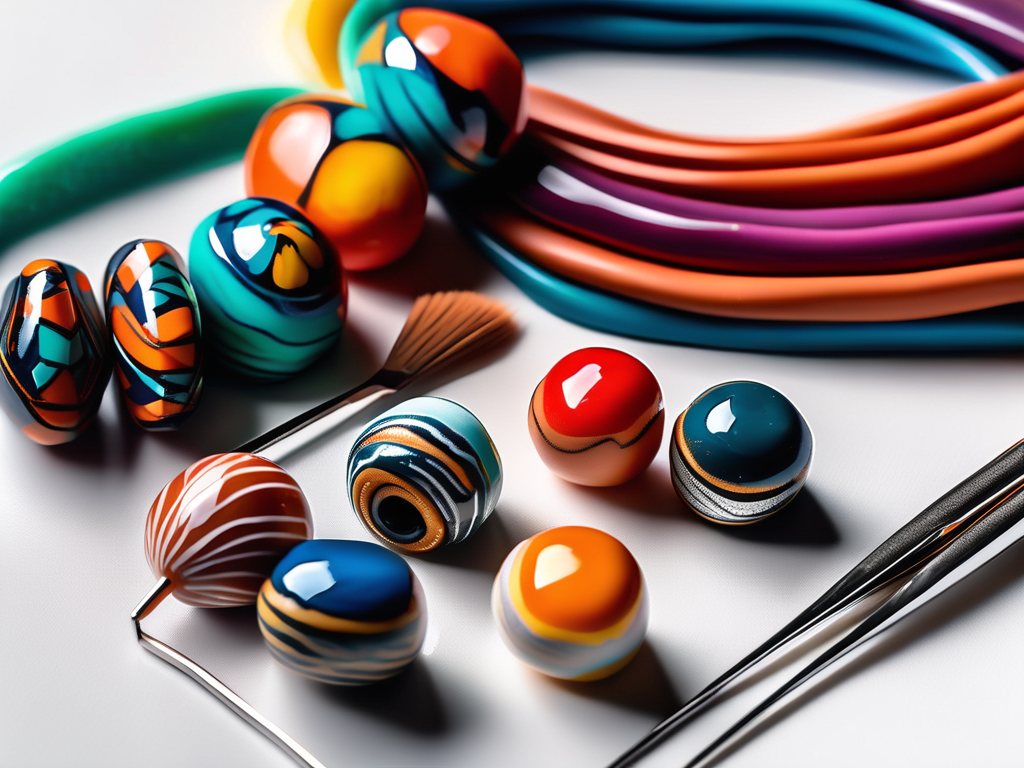
- Marbling: Combine different colors of clay and create swirling patterns to mimic natural stones like marble.
- Caning: Create intricate designs by making a long strip of patterned clay and slicing it into thin pieces to decorate your beads.
- Inlays: Embed small pieces of contrasting clay or other materials like metal leaf or crushed stones into the surface of your beads for added visual interest.
These techniques require practice and patience, but the results can be stunning. Push the boundaries of your creativity and see what unique bead designs you can create.
Personalizing Your Polymer Clay Beads
Incorporating Colors and Textures
One of the advantages of working with polymer clay is the ability to mix and blend colors to create your own unique palette. Experiment with different color combinations to achieve the desired effect. You can also incorporate textures by using tools like texture sheets, fabric, or even natural objects like leaves or shells to create interesting surface patterns. The possibilities are endless when it comes to personalizing your polymer clay beads.
Adding Personal Touches with Embellishments
Embellishments can take your handmade clay beads to the next level. You can add small rhinestones, beads, or even embed wire or metal findings into the surface of your beads. These embellishments can add sparkle, depth, and texture to your designs, making them truly one-of-a-kind.
Curing and Finishing Your Polymer Clay Beads
Proper Curing Techniques for Durability
Curing is the process of hardening the polymer clay to make it durable. To ensure proper curing, follow these tips:

- Use an oven thermometer to accurately monitor the temperature of your oven.
- Preheat the oven to the recommended temperature for the specific brand of polymer clay you are using.
- Place the beads on a baking surface and bake according to the manufacturer’s instructions.
- Allow the beads to cool completely before handling or removing them from the baking surface.
Properly cured polymer clay beads will be sturdy and long-lasting, ensuring that your jewelry creations can withstand daily wear and tear.
Finishing Touches for a Professional Look
To give your polymer clay beads a professional look, consider adding some finishing touches:
- Apply a layer of varnish or resin to add shine and protect the surface of your beads.
- Attach your beads to jewelry findings like jump rings, ear wires, or necklace chains to complete your designs.
These finishing touches will elevate your polymer clay beads from homemade to high-quality craftsmanship.
Tips and Tricks for Polymer Clay Bead Making
Maintaining Your Polymer Clay
Proper maintenance of your polymer clay is essential for a successful bead-making experience. Here are some tips:
- Store your polymer clay in a cool, dry place away from direct sunlight to prevent it from becoming brittle.
- If your clay becomes hard, you can restore its softness by conditioning it with a clay softener or gently warming it with your hands.
- Clean your tools and work surface after each use to avoid contamination and color transfer.
By taking care of your polymer clay, you can ensure that it remains pliable and ready for your next creative project.
Overcoming Common Challenges in Bead Making
Bead making with polymer clay can sometimes pose certain challenges. Here are some common issues and how to overcome them:
- Cracking: To prevent cracking, make sure your clay is properly conditioned and not over-baked. Avoid thin areas in your bead designs.
- Air Bubbles: Knead and condition your clay thoroughly to remove any air bubbles. When creating your beads, make sure to smooth out any visible air pockets.
- Sticking: Use a small amount of cornstarch or baby powder to prevent the clay from sticking to your hands or tools. You can also use a non-stick surface for easier handling.
Don’t get discouraged if you encounter any challenges along the way. Practice, experimentation, and learning from your mistakes are all part of the creative journey.
As you can see, polymer clay beads offer endless possibilities for personalization and creativity. From basic techniques to advanced designs, there is always something new to explore in the world of polymer clay bead making. Whether you’re creating jewelry for yourself or as gifts for others, the joy and satisfaction of seeing your personalized creations come to life are truly rewarding. So, grab your clay, gather your tools, and let your imagination run wild as you embark on your polymer clay bead-making adventure!


